Friday, September 6, 2013

Making a 4"x 6" Project Life Card out of Scraps

Since I've started PL I've accumulated a lot of "must have" kits and probably have enough for several years of scrapbooking but today I wanted to share how to make your own filler or journaling  cards out of scraps (as with most scrapbooker's I have a mountain of scraps).

I started with a larger piece of scrap grungy design paper (Basic Grey) leftover from a layout.


 I then cut it into 4x6 and 3x4 cards


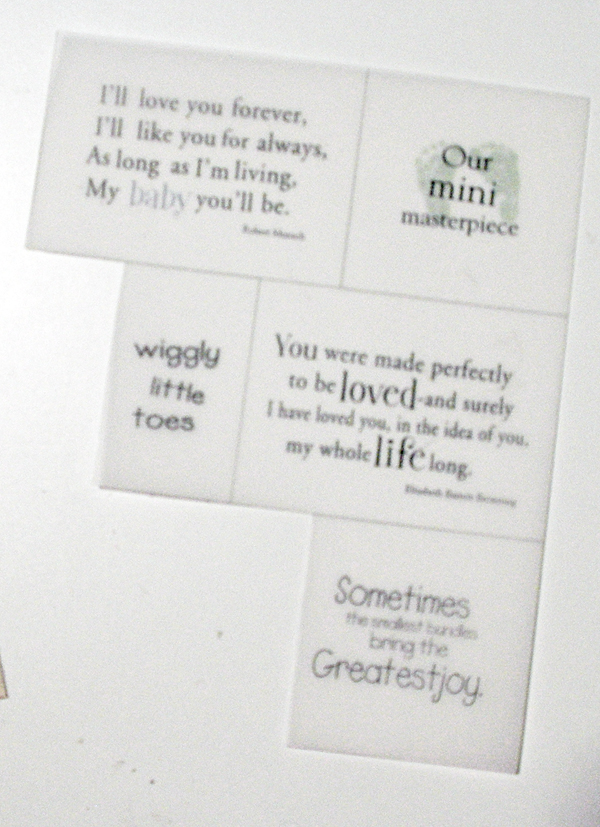
I found this sheet of vellum baby quotes in my scrap box so I decided to use the top left one.
 Since my "baby" is 16 years old I didn't want the card to be baby-ish, I'm going to work with colors and items that are more suited to a 16 year old boy. I started stamping some background stamps and flags on the bottom left corner in a navy ink.


Next I adhered the vellum quote to the bottom of the card and decided I needed a bit more stamping so I added the arrows in the top right to balance  the design.


Although I could have left it at this point I went further and added a punched border from scrap navy cardstock and being a grungy looking card I tore out some of the pieces along the edge. I then adhered it to the card at an angle and trimmed off the excess.


Next I rounded the corners with a 3/8" corner rounder and inked the edges. Done!


Products used:
Basic Grey paper -Ambrosia-rind
Recollections navy cardstock
Stamps from- Stampers Anonymous- Tim Holtz, MME- Lost & Found 2- flag, Studio Calico- arrows
Ink- Stampin Up-Night of Navy
Crop-o-dile corner chomper-3/8"
EK Success border punch

Trying to get my crafting on....

Don't you just hate those days where you want to make something but you just don't know what? That's how I feel today. I've gotten up from staring at my computer screen several times now, stood at my craft table and just draw a blank. Yes I could finish one of the hundred projects I have started but I'm just wanting to try something new or well....just something else. If I scrapbook should I work on last years pics or should I work on my this years album? Maybe I should paint or.....no I don't think I want to sew today. My desk is a mess right now. Maybe I should clean that up first. I seem to be more inspired when things are clean. Hope I can get it together before the day is over :)


My work table is calling


my desk is not :P


Thursday, September 5, 2013

Mixed Media Layout

In this layout I have been practicing with mixed media so I'll run down a bit of what I did on this layout.`
-First I tore strips from the FabScraps paper and adhered it in the top left and bottom right corner. -Next I took cream paint and dry brushed over parts of the pattern paper to tone it down a bit.
-Let dry.
-I then used a chicken wire and circle medallion stencil, applied the gel medium over top in various places on the layout.
-Let dry.
-Khaki and Indian Corn were sprayed over the whole layout in random patches. Again dry.
-I painted the trinkets, flowers, crystals, and dry brushed the buttons in cream paint.
-Next I sprayed the crystals in Indian Corn mist (it blended too much into the layout in cream).
-For the script stamp I dipped it in paint (you must wash your stamp immediately after) and stamped randomly in the empty spaces.
-Last I adhered the embellishments, lace and photo on my page.


Products used
yellow/cream cardstock
black cardstock
Indian corn Glimmer Mist
Cream craft paint
Khaki Glimmer Mist
Black Kaiser Craft lace
Decorative buttons
Gel medium
Say It in Crystals- painted cream and misted in Indian Corn
Crafter's Workshop Stencils
FabScraps Paper- Classic Rhythm
FabScraps Paper- Trinkets
Color me Crazy white flowers, painted and misted
Stampin Up French Script background stamp
Spellbinders die for card

Monday, September 2, 2013

Thin Die Storage

Today I wanted to share with you how I store my thin dies like Spellbinders, Cheery Lynn, MFT and Hot Off the Press.

Supplies:
-zippered binder, the thickness will depend on how many dies you have. Inside pockets are good for storing accessories.
-8 1/2"x 11" magnetic sheets ( I bought mine from Walmart in the craft isle)
-8 1/2"x 11" chipboard ( I used 12"x12" black chipboard from Grafix cut down)
-something to punch holes through the magnet and chipboard (I used my Cinch)
-plastic page dividers (Walmart again, office supply isle)

Adhere magnetic sheets to both sides of the chipboard. Mark the holes using the page dividers as a template for placement. Punch holes one at a time using whatever you have to get through the chipboard (you may have to use the old eyelet setter and a hammer) If you are using the Crop-o-dile you may have to punch several holes to get them big enough for the rings in the binder.

That's all there is to it. Make as many pages as you need to fit your collection.

Here is a video showing how I make mine :)